
Edgley Design Self Build Guide
By Jake Edgley
8th May 2026
About us
Edgley Design is an architecture and development practice focused on high-end residential projects for private clients and property developers, ranging from house extensions to multi-unit residential schemes, as well as our own projects.
We have also completed work in the arts and across a broad range of mixed-use urban buildings, including offices and retail. Our practice encompasses architectural and interior design and extends to the design and manufacture of bespoke joinery products.
01
Define the Brief
Start with how you want to live, not what you want to build.
Why do you want to build a new home? Is it because you can’t find what you want, is it because you have always wanted to do it, or do you see it as the only feasible way to get a foot on the ladder? These essential questions will help you decide if you are building for practical or emotional reasons
Write yourself a scope of basis spaces:
How many bedrooms do you need and want?
How will you live in the house?
Do you have children that need some separation of space or is open plan living your preference?
Do you have any specific needssuch as a garage or studio space ?
Try to keep open minded about design at this point. Think about lifestyle and what you’d like from a home. Are you looking for convenience of an urban location or seclusion and open views? What are your priories in terms of budget, sustainability and adaptability?If it’s a first foot on the ladder then long term suitability is less important than if it’s a retirement home.
Despite all this advice, the reality is that in the UK and particularly in London, suitable sites are scarce, and setting a tight brief for your land can make it difficult to find what you are looking for. It’s like clothes shopping, if you go looking for something specific you might not be able to find it, and most people go with an open mind looking for something that catches their eye. I think looking for land is similar, and while it’s important to have an idea of your red lines, start looking with an open mind with as few parameters as possible. I think that as with buying property, the instinctive moment that you feel you’ve found an exciting opportunity is a good guiding emotion- it’s essential that such a huge commitment starts from a point of excitement.
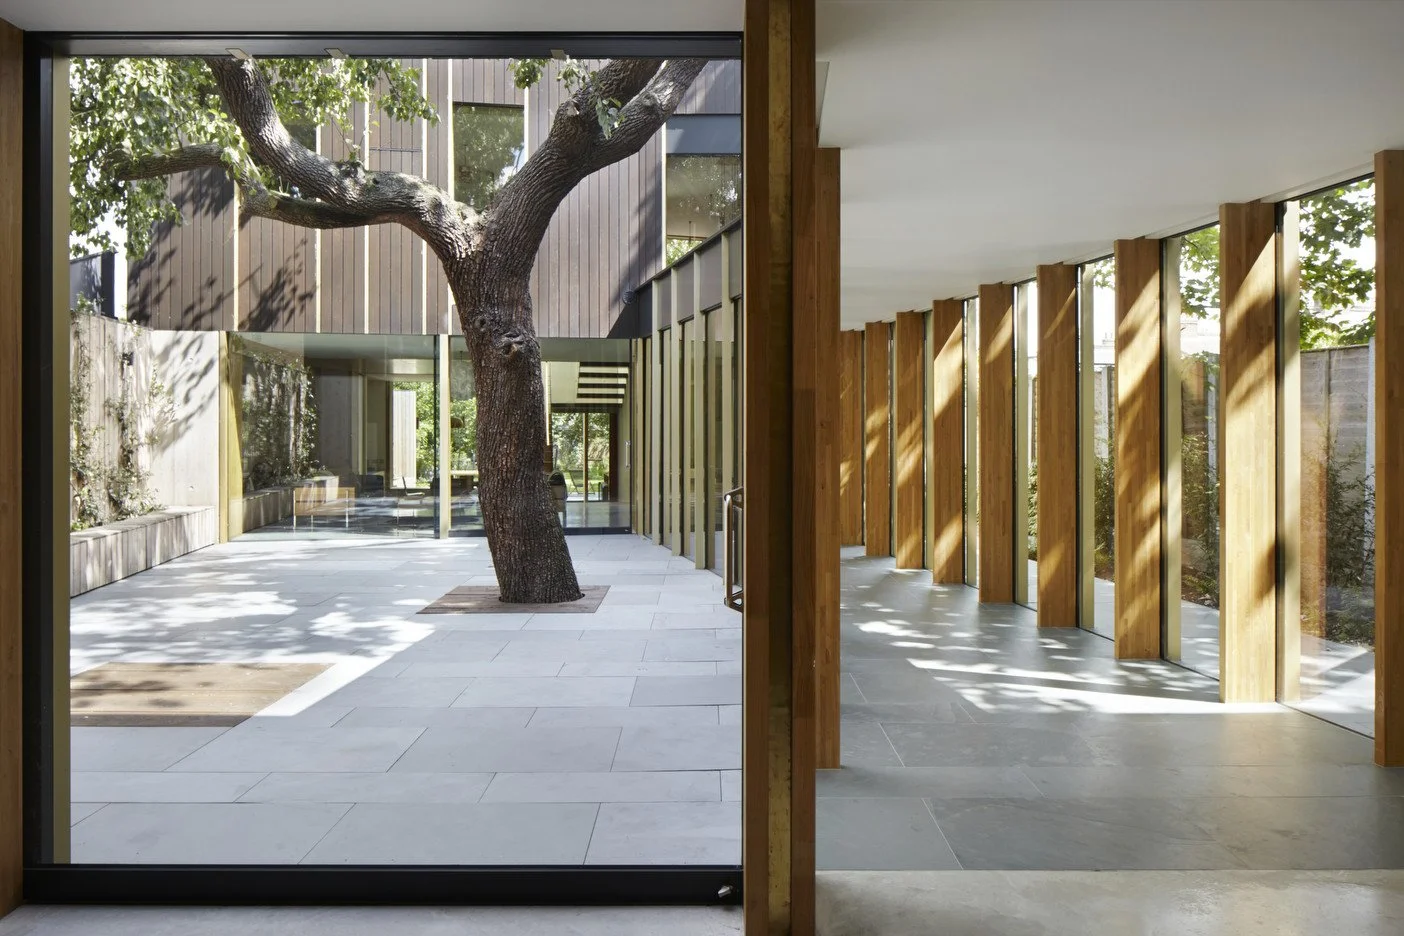
Give thought to your needs and priorities:
Clarify lifestyle
space needs
future flexibility
light
views
sustainability
budget
02
Set a Realistic Budget
Align ambition with cost early
It is important to start with a realistic idea of budget. It’s a natural human aspiration to be as ambitious as possible, and we often find that a stated budget is 20% below a realistic estimate of a project. This is fine in that it will require careful thought to balance the compromises required to align the budget with reality, and will ensure that you make the best use of your available funds, but at some point realism will be required.
At the early stage costs will be worked out on a m2 rate, which is surprisingly accurate - good or bad design has little effect on this rate so it’s important to invest in good design, and an efficient design can often be more cost effective than something inefficient or over complex. What this means is that your budget will define the realistic size of the house you can build, so determining this early on will help in your search for a suitable plot that relates to this size
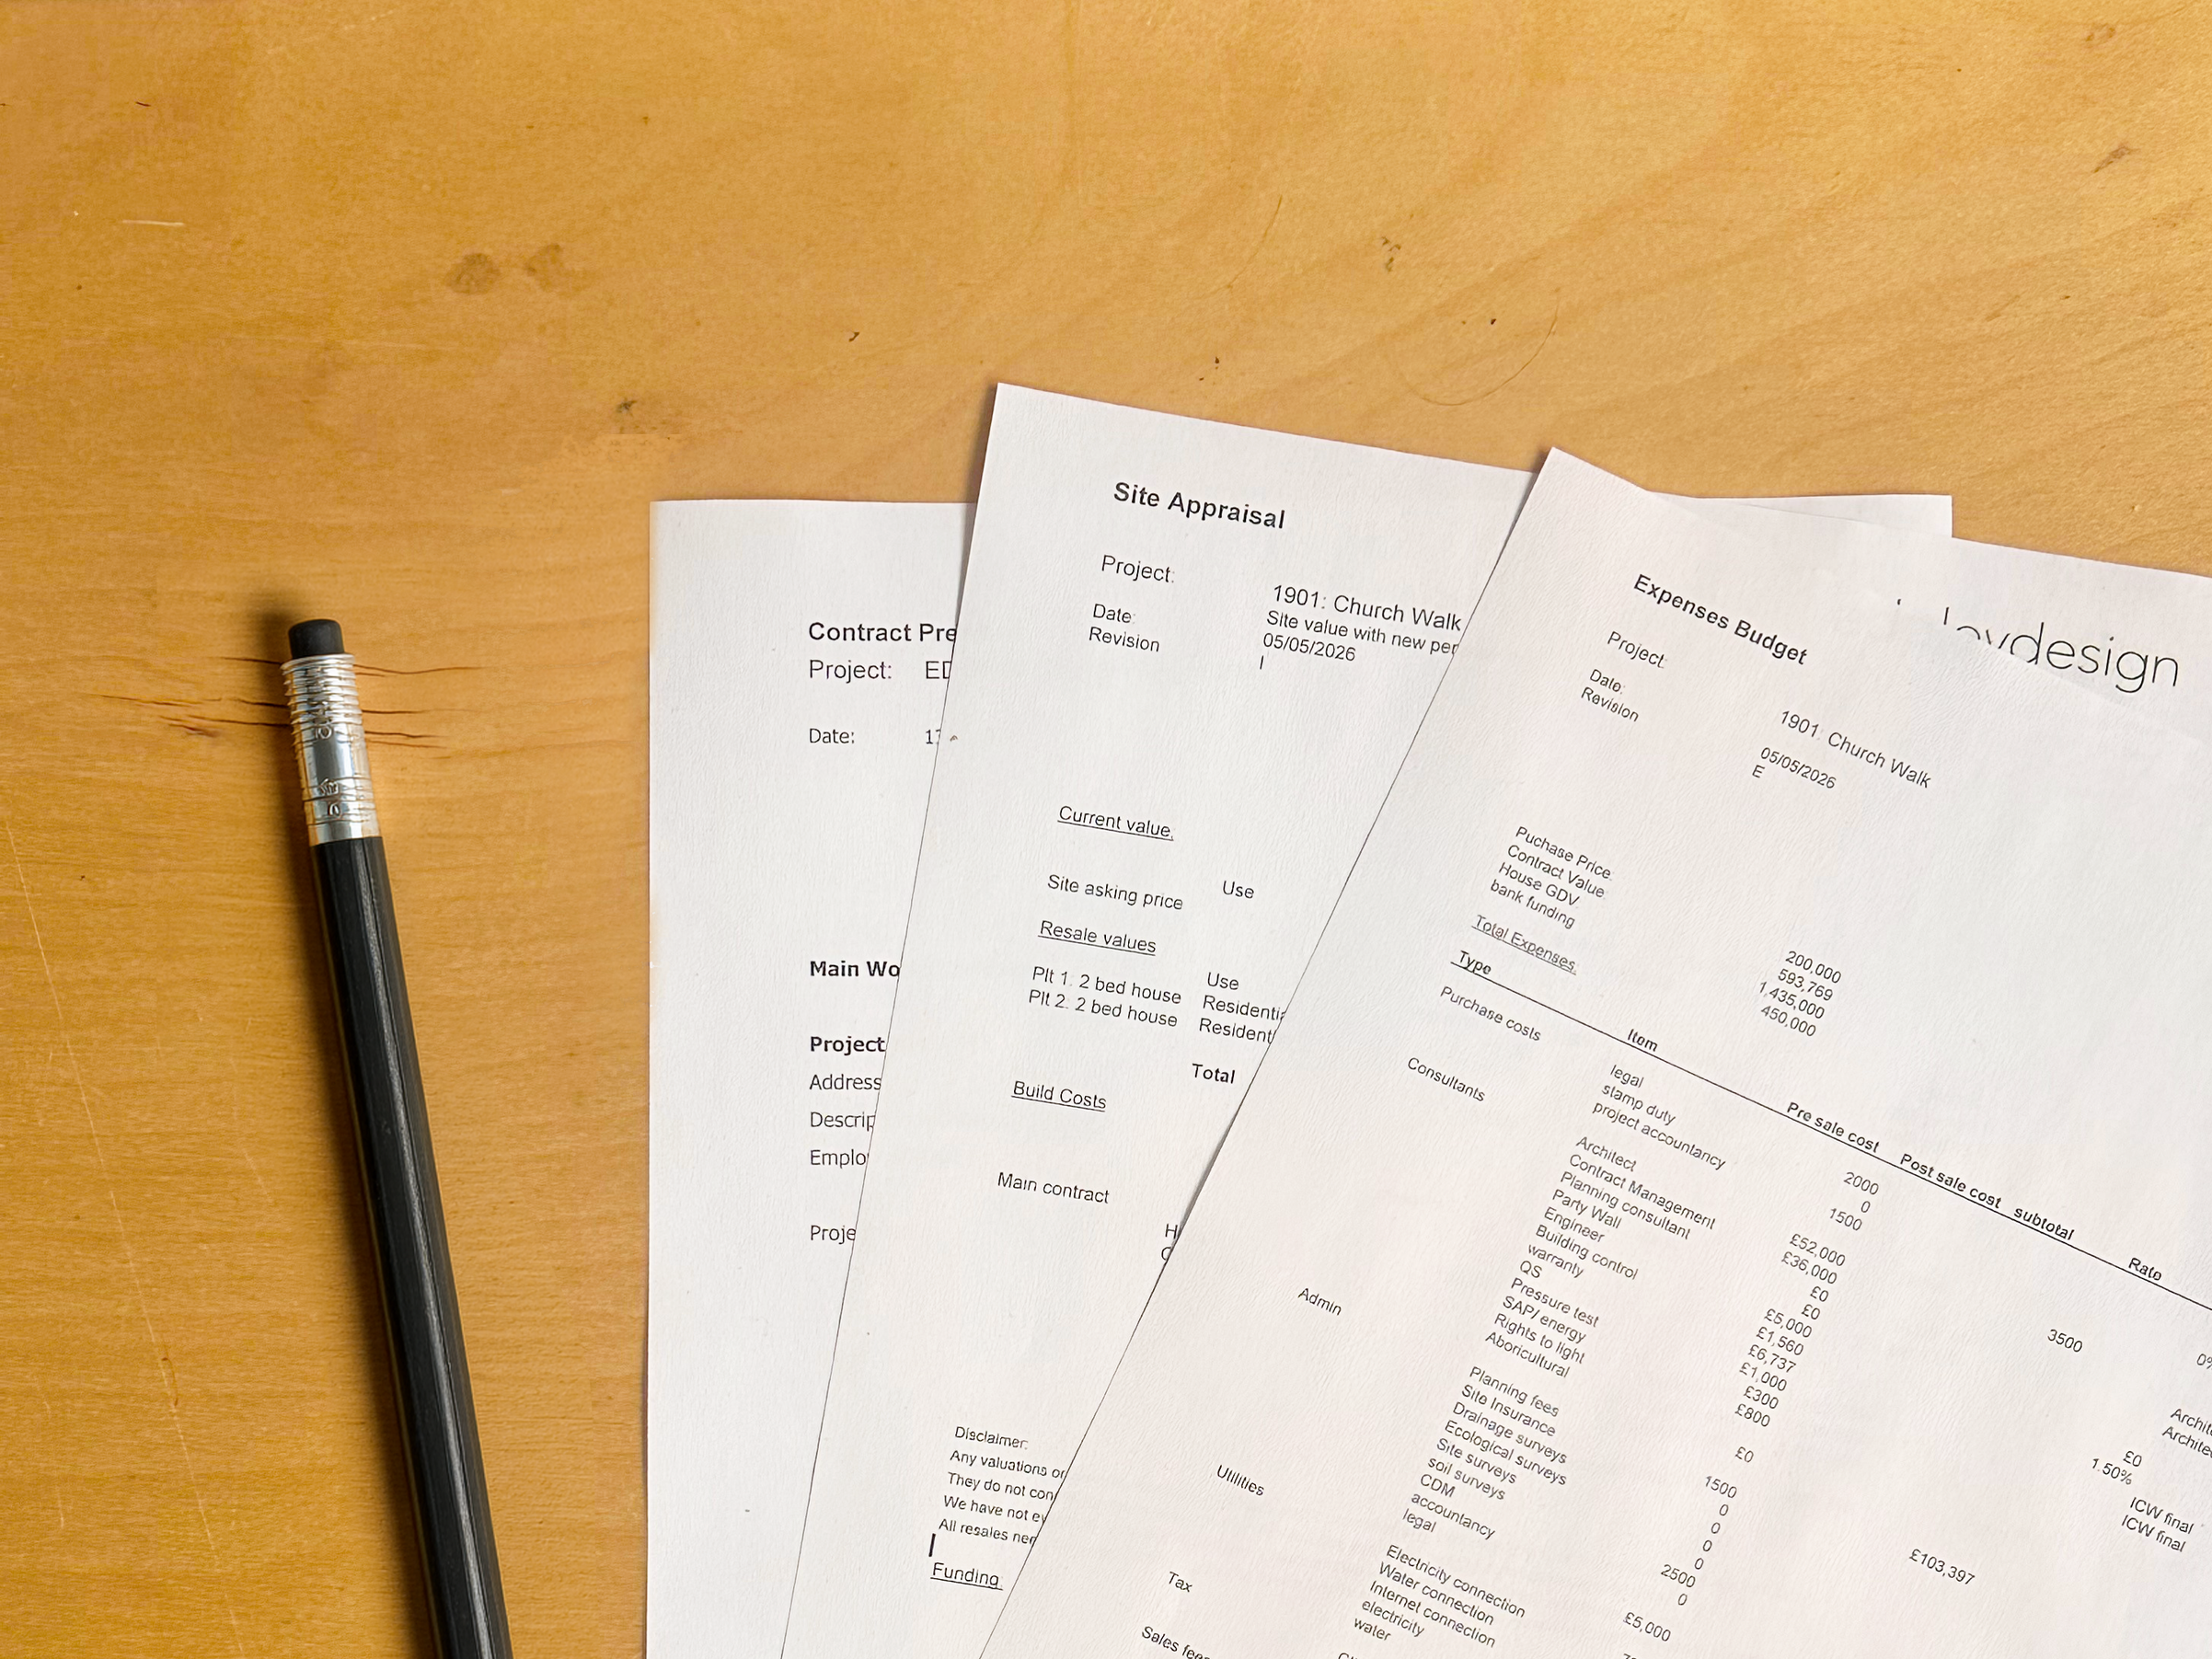
Expenses (which are the non-contract costs of building such as consultants, finance costs, taxes and planning fees) can be roughly estimated as a percentage of the land and build costs (18-20% is a useful benchmark) and as the project progresses these costs can be worked out more accurately
We have a simple land evaluation spreadsheet that helps calculate a basic project budget and can calculate the value of a plot of land. If you email us at: resources@edgleydesign.co.uk we will send this to you.
Alternatively if you are researching a plot of land for sale we can complete this spreadsheet for you for a fixed fee of £500 plus vat.
Please visit this link and fill out the online form and we will get back to you with a completed appraisal.
Include:
Construction costs
Professional fees
Planning and surveys
Contingency (typically 10–15%)
03
Choose the Right Site
The site dictates everything
There are many ways to find a site for a newbuild home.
If you are outside London, there are some excellent websites selling land that is suitable for a new home, such as Plotsearch. These sites are often ready for development with planning permission in place, however you should expect to pay a higher price for a site that is ‘ready to go’. Due to pressure on land there are few of these sites available in London, and when they do come up for sale they tend to be expensive.
Another route is to buy land at auction. Many auctions will include plots of land for sale, with or without planning. This does present opportunities, but it’s important to know that when you buy at auction you are exchanging contracts and are obliged to buy, often within a few weeks. You need to do your research in advance, and if the land does not have planning you are taking a risk that planning will be successful. On the upside, as auctions give sellers a quick sale there is often a discount to the full market price. As a final warning, a good plot can attract a lot of attention at auction and can go above its development value.
The other alternatives are to find land for sale on the open market via agents. This gives an easy route to finding a site with enough time to property research before exchange of contracts, however as a result this asking price is often high.
A last option is to look yourself for a suitable plot and then try to contact the land owners direct. This can work in your local area but requires serious commitment further afield. If you have found a plot of land and want to know if it is suitable for development then an architect can produce an outline feasibility to asses planning risks.
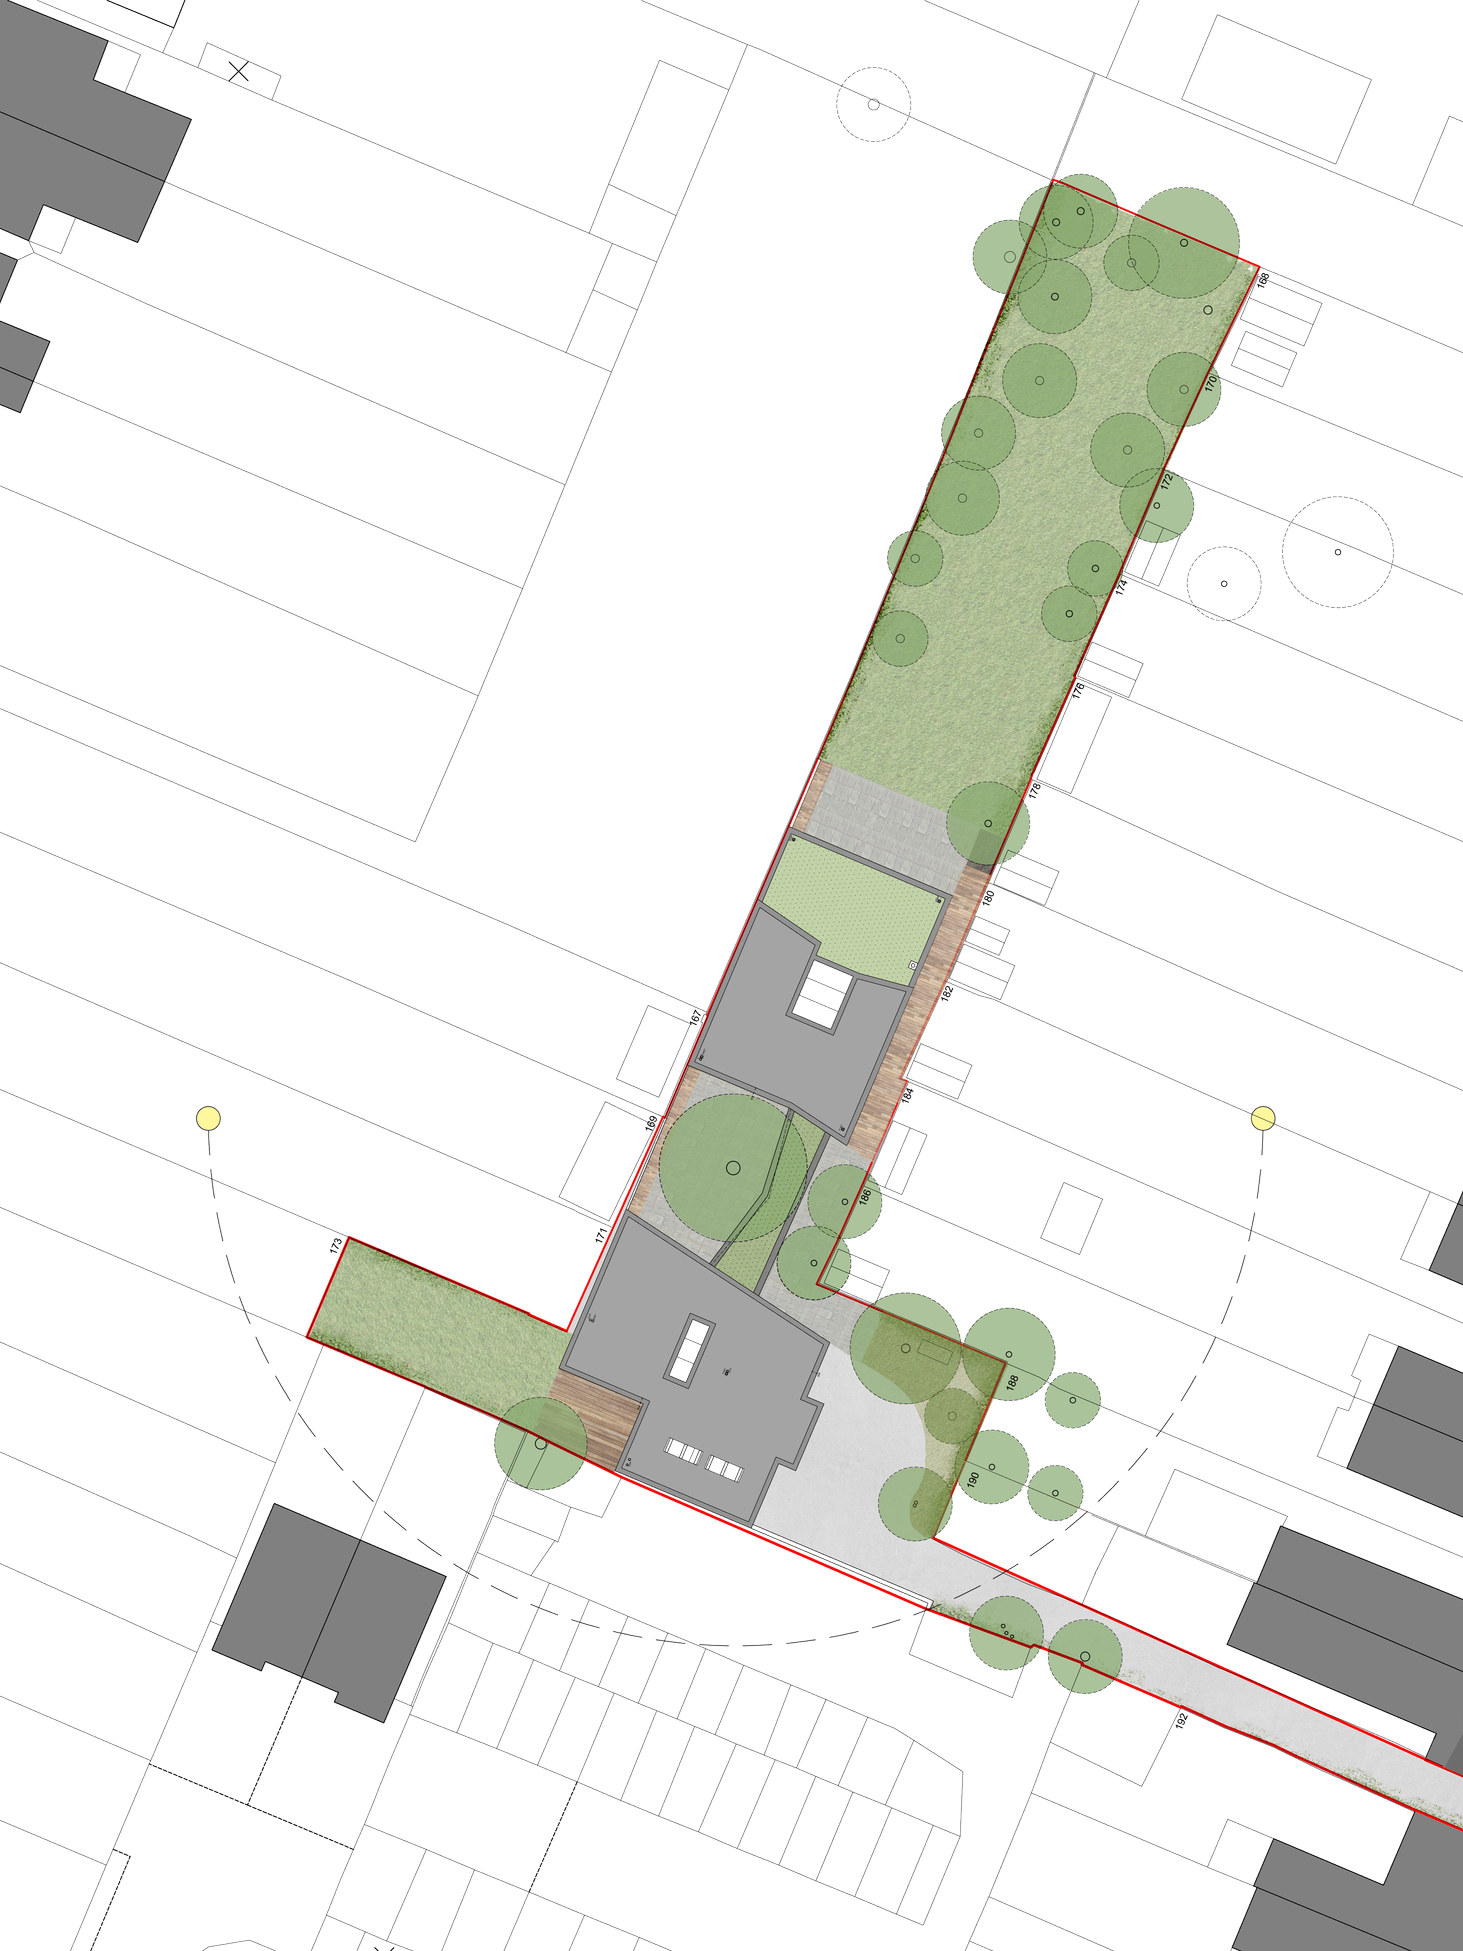
Assess:
Orientation (sunlight)
Access and constraints
Planning context
Ground conditions
04
Understand Planning Constraints
Engage early with local planning policy
The two main planning considerations at an early stage are: what can you hope to get permission for, and what is the best process to follow in applying for permission?
In terms of process, there are a few basic options in terms of first planning enquiries, and the best option depends on your situation and the status of the land. All ultimately lead to a full planning application
A permission in principle application is a very basic application that only requires a site plan and some simple information on what you want to build (use type and size). This is a good way to asses if a plot of land with no permission is suitable for development at a minimal consultant cost, and is useful if permission is uncertain. If successful you can then invest in a full planning application in the knowledge that some type of permission is achievable
If the suitability of a site seems fairly certain, but the design options are very open (for example an urban site with no house) then a pre-application can be a useful first step. This requires more design work before submission, but the response will be related to the design and should guide you towards an achievable final design. We always submit a pre-app if a change of use is involved as the issues are unlikely to be resolved in a full planning application
If the correct approach and the principle of development is clear then it is possible to proceed directly to a full planning application, for example if you are replacing a dwelling on a suburban plot with a similarly sized scheme.
In terms of what will be achievable, this is very complex and will likely require an architect or other consultant to guide you. Some basic first principles are that it’s important to demonstrate that the building will fit well into its context in terms of massing, form and materiality. It does not mean it needs to copy neighbouring buildings (and indeed this might not be a good strategy) but it means that it needs to be sympathetic in terms of visual design and also in terms of respecting neighbours’ needs, views and light.
It can be useful to look at planning policy relevant to your site, and knowledge of these policies is important, although we have a guiding principle that if you can demonstrate that your proposed building will look fantastic then this will be a good first avenue into the process, and that if the opposite is true then any amount of policy box ticking will not save a poor design!
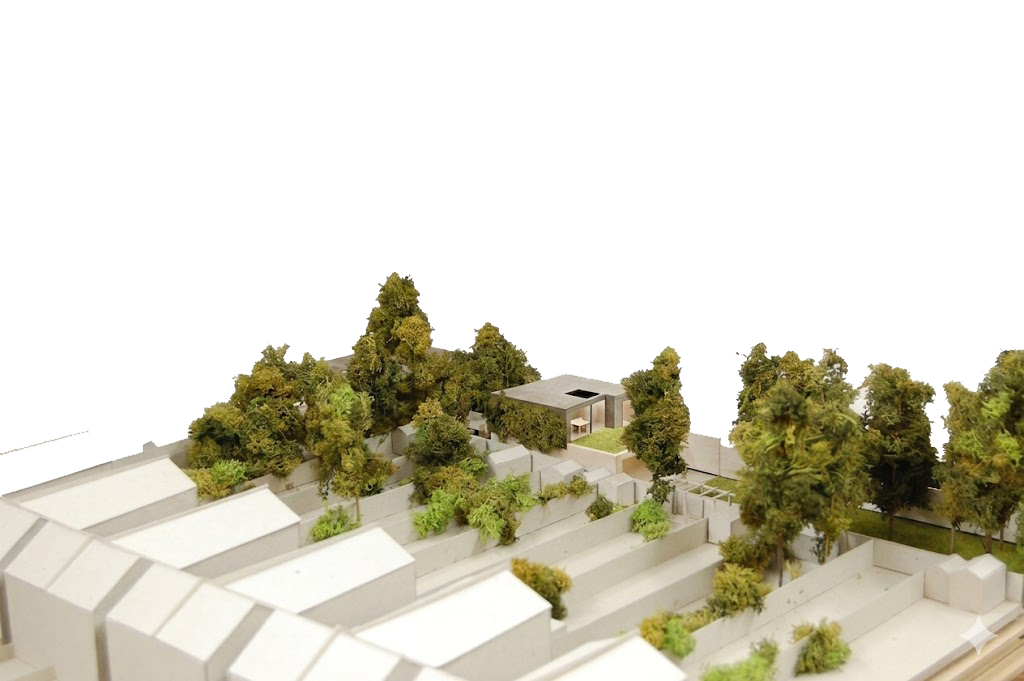
Consider:
Local authority rules
Neighbouring context
Height
Massing
Overlooking
Pre-application advice
05
Assemble the Right Team
A good team saves time and money
At the early planning stage of a project the core consutlant team will be fairly limited. You’ll need an architect or other lead consultant to produce a concept design in response to your brief, which will lead to a full plannign stage design.
Choosing an architect is a very important step in the process. You’ll need someone you can trust, and also someone who shares your vision. A recommendation is a good starting point for finding someone trustworthy, either from a friend or by contacting a trade body like the RIBA. However finding someone with shared vision is equally important, so it is imporant that you like the work of your chosen designer. Hoping that someone who designs modern homes for example will successfully build a classical country home is unlikely to go well- you’re better off looking at designers who you find insprational and then reseraching them. Magazines, RIBA awards, Instagram and pinterest are all places to find inspiration, and pinterest in particular can be a useful way to build up a style and mood board for a project to discuss with potential designers. Open House in September each year gives an opportunity to see some buildings first hand and often meet the designers themselves.
Various consultants might be required to support this process depending on the needs of the site and project. It’s likely that your lead consultant will have a network of trusted consutlants and can help obtain quotes from suitable consultants.
If you are changign the use of the site or if there is no existing buidling then a planning consultnat might be needed. You might need heritage consultants if you are working with a listed buidling or are near to one. You might need an engineer if you propose a basement or extensive landscaping works. An aboriculturalist is often needed, particuarly in London where most sites are impacted by nearby trees.
Planners might require various specialists to produce supporing reports. These include heritage reports, environmental and ecological reports, fire reports, and daylight impact assesments. Your design team will advise you on the need for these and can recommend consultants.
You might want to work with a QS and/ or a contractor to evaluate costs at this stage, however until a full planning scheme starts to emerge it’s difficult to measure actual costs and you are likely to rely on the best estimate of costs based on a m2 rate.
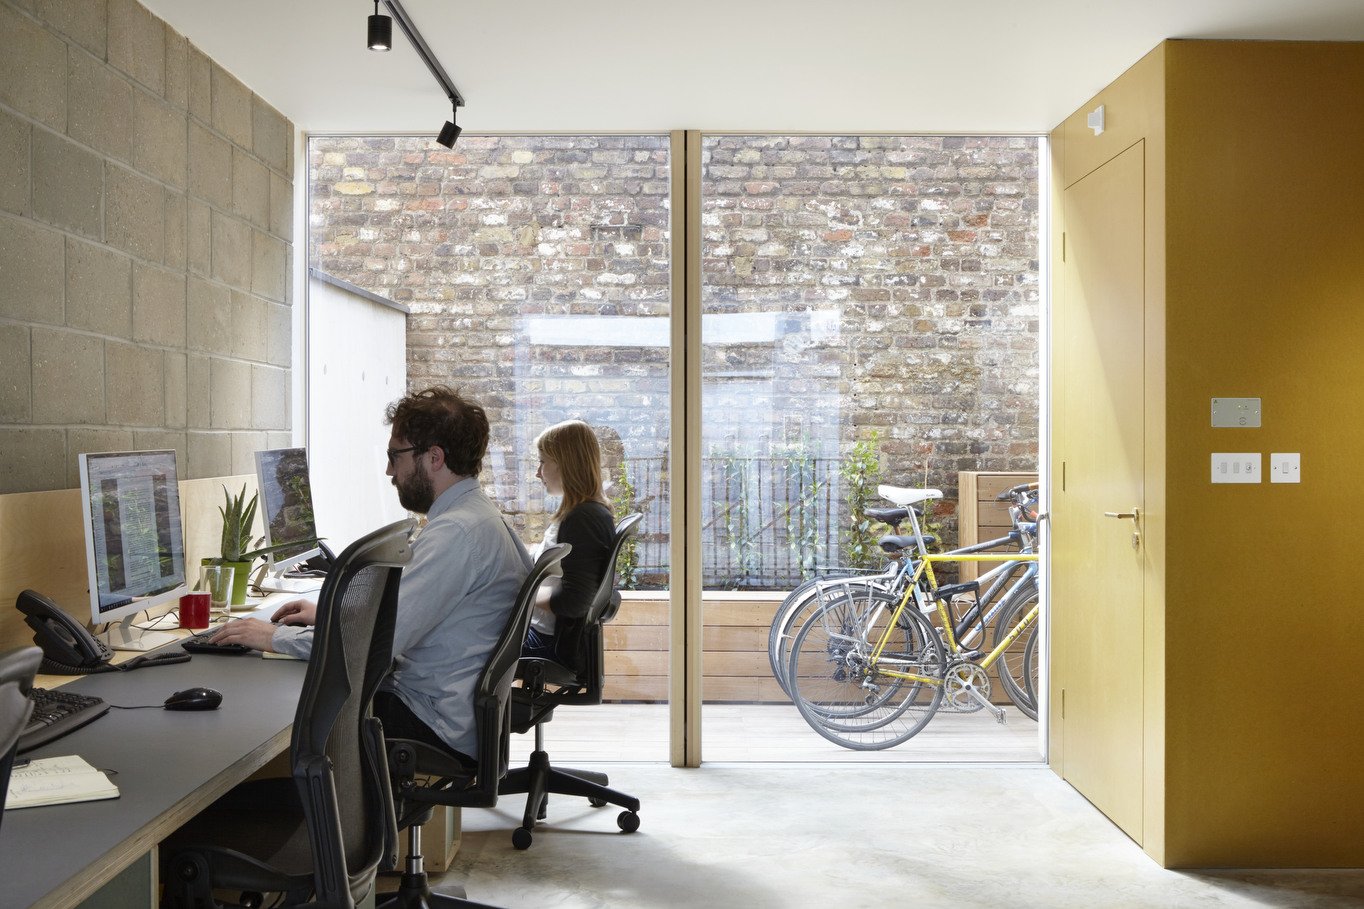
Typically includes:
Architect
Structural engineer
Planning consultant (if needed)
Contractor (early input can be valuable)
06
Develop the Design
The first stage of this process involves agreeing a concept design with your designer that fulfils the brief and makes the most of the opportunities of the site.
One this is agreed, you can progress to drawing up this concept as a more detailed planning stage design.
At the outline stage, your designer will produce concept designs that explore the potential layouts of the building, to explore how the house is organised, how you will live with and use the house, how rooms relate to the views and landscape, how light interacts with different rooms at different times of day, how the building will look, and a host of other parameters such as security, adaptability, sustainability, construction efficiency, cost, buildability, atmosphere, materiality and scale. It is at this stage that a good designer can have a huge impact on the quality of the final building, and good choices at this stage can lead to a high quality building at no more cost than an similarly sized poorly conceived design.
It is good to have ideas of what you like and what inspires you, and Pinterest can be a good way to communicate this to your designer using shared mood boards. Ideally however you will focus on what you hope to achieve, as in the brief for the building, rather than how you expect to achieve this- if you can keep an open mind it will allow the best solution to arise as the process develops, particularly as the final design will need to balance all the various parameters of the project successfully.
Communication is important, and ideally your designer will be able to give you a clear indication of what the building will be like, allowing you to imagine the finished design. While it’s important to consider what the house will look like externally, it’s equally important to consider the interior design in terms of light, space and materiality as you will spend more time inside than out! 3d internal and external views are very useful, as are physical models (less prone to perspective distortion than computer models) and sketches. Simple mood boards can also be useful to communicate and agreed a shared vision for the overall effect.
Once the concept design is complete and you’ve agreed a the basic design, your designer will produce formal developed design drawings for a planning submission. This will of course include site plans, layout plans, sections and elevations, but will also require a written design statement to explain the reasoning behind the planning concept, and various planning studies.
These studies will vary depending on the needs of the proposal and the context, but might include arboricultural reports into neighbouring trees, heritage reports if the context or building itself are historically significant, daylight studies if neighbouring properties are close enough to be impacted for light, and various environmental and sustainability studies. These studies can take some time and as soon as the concept design is complete these should be
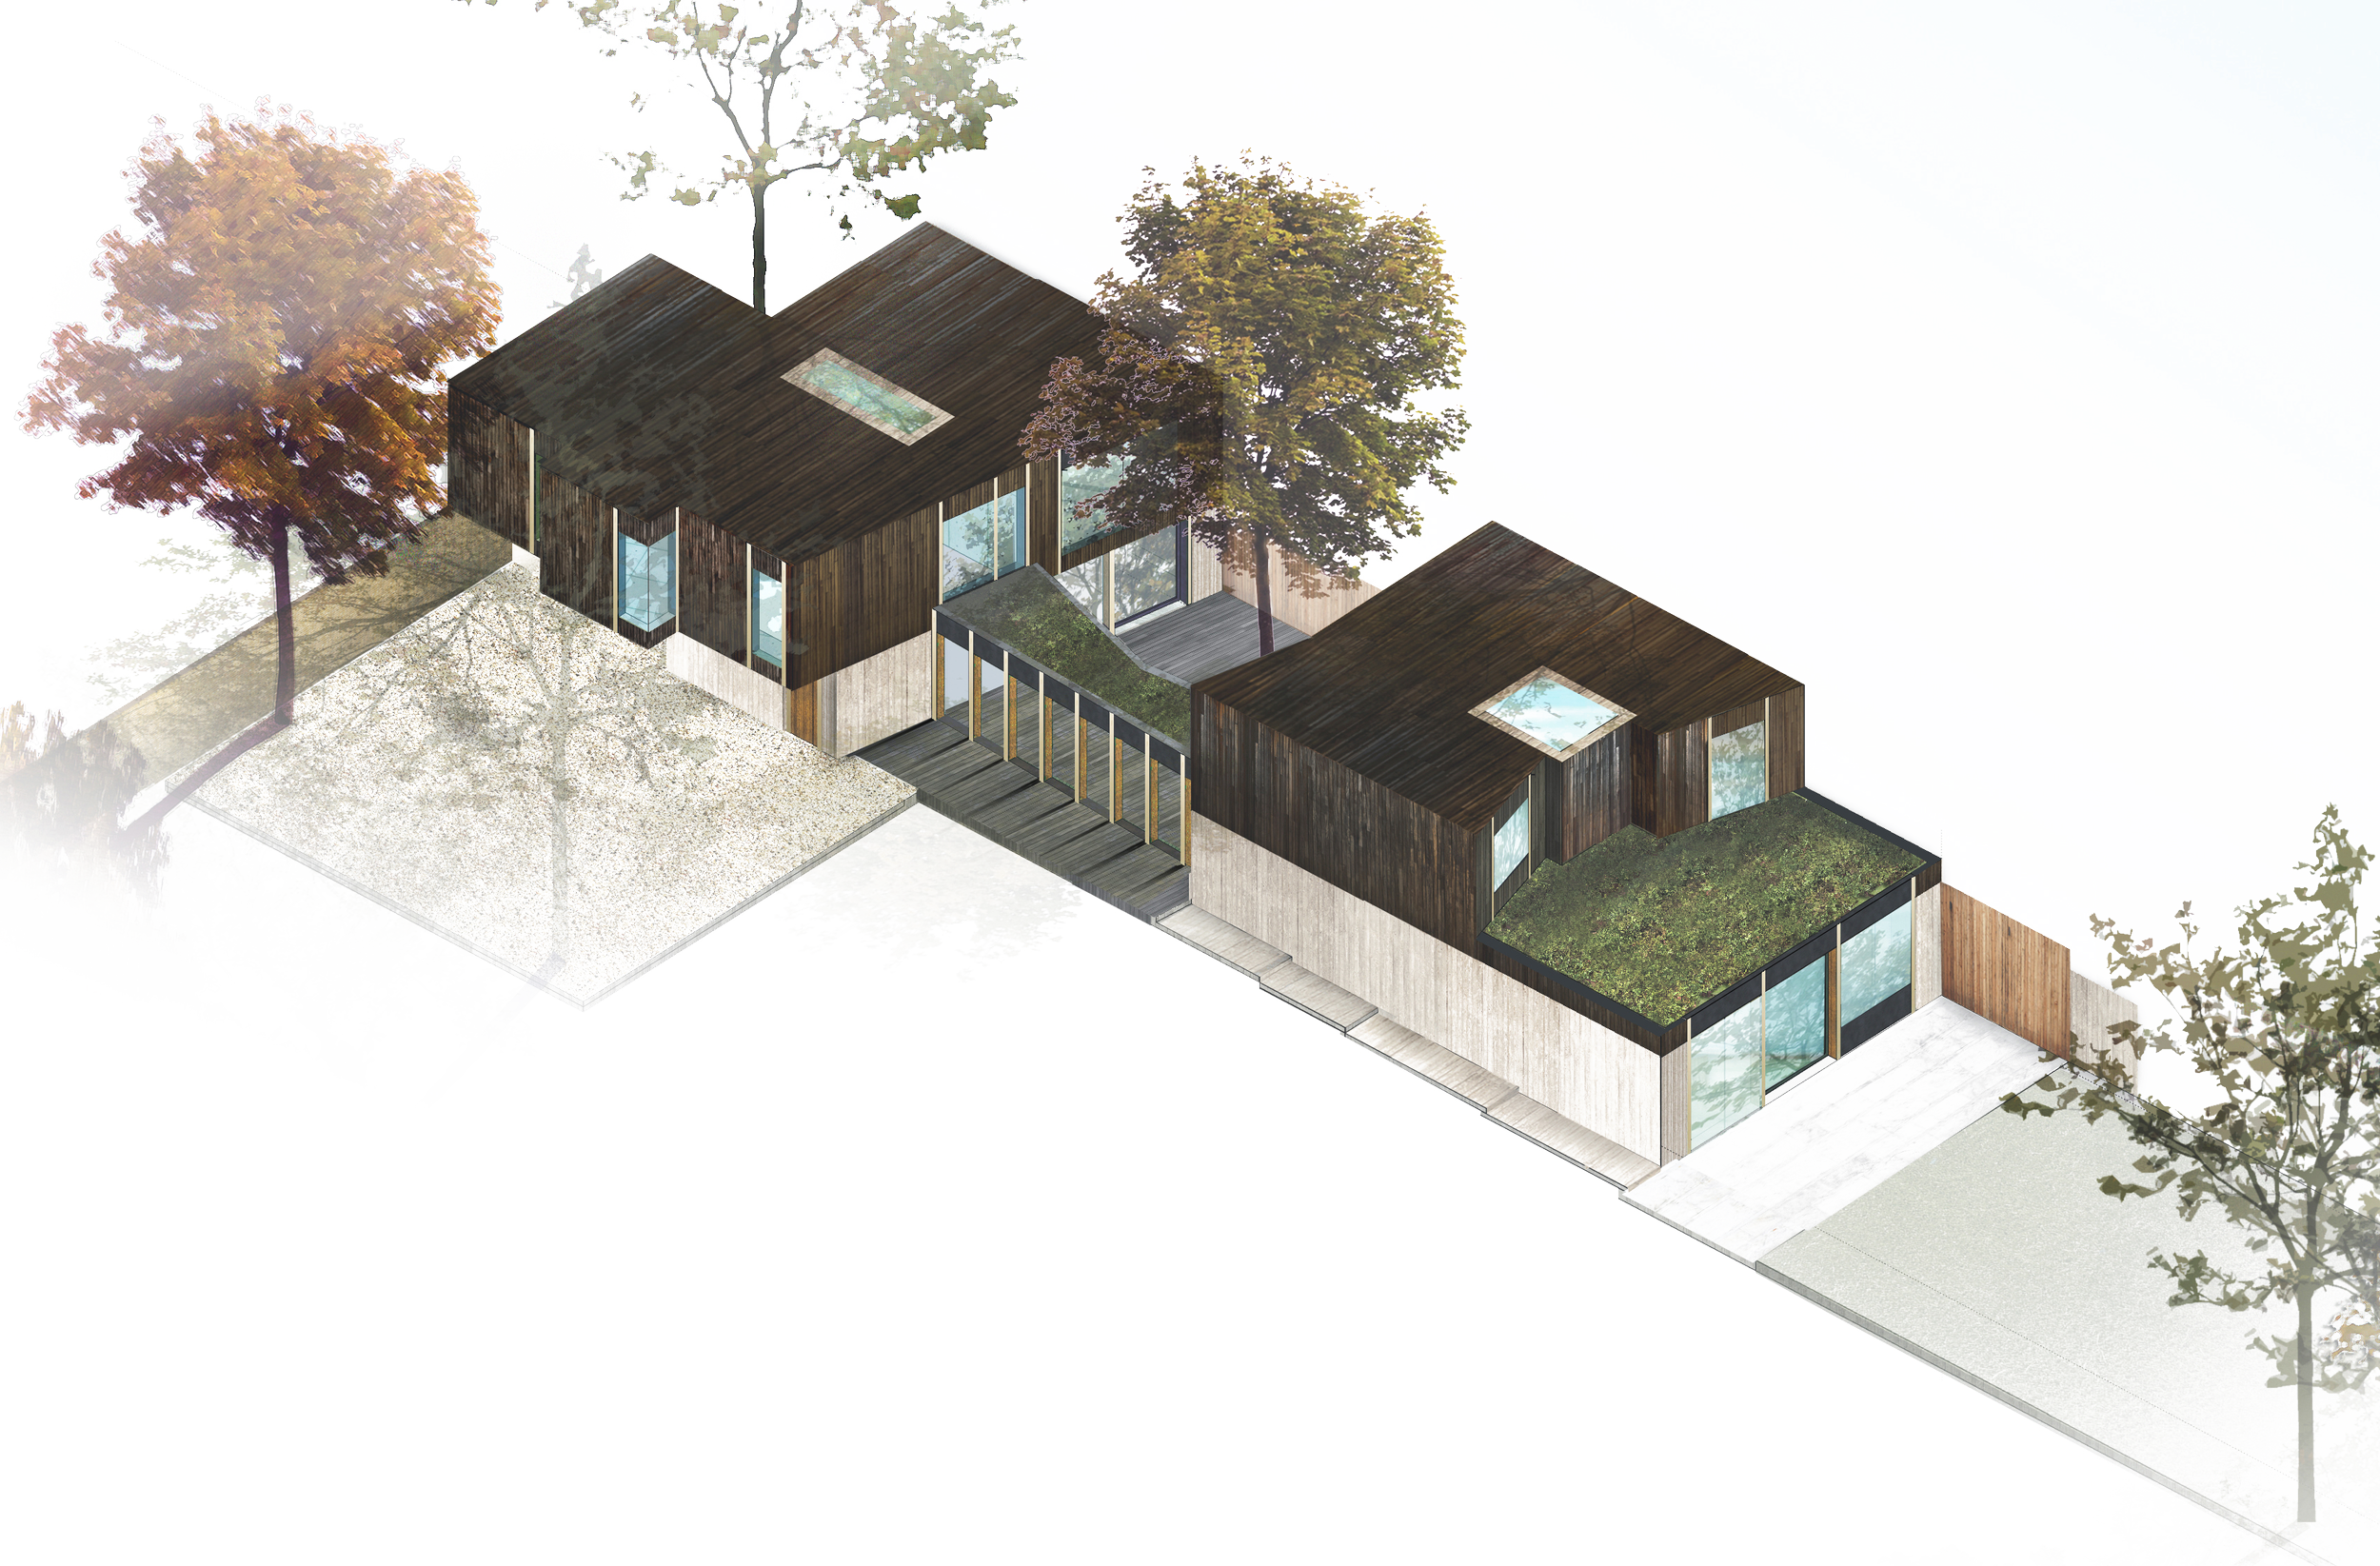
Focus on:
Spatial quality and flow
Natural light and ventilation
Materials and character
Long-term adaptability
07
Technical Design & Specifications
Turn ideas into buildable information
Once planning permission has been secured the design will need to be developed into a full tender stage design, including detailed drawings, schedules of fittings and components, and written specifications.
We divide this into two sections of work- strategic design and tender documentation.
Strategic design involves working with various consultants and the client to decide how the building will be built, such as which structural system to use, and also to resolve technical issues such as how much insulation is required, or which is the most suitable heating system for the building. Most of this work can be summarised as how the design will meet the various building regulations.
The most important consultants at this stage will be the structural engineer, the sustainability consultant (for calculating environmental performance, particularly insulation requirements) and the building control inspector (usually a private consultant). You may choose an M&E consultant, but this can lead to complex M&E design and it’s possible to design a house without one by using specialist suppliers who can produce calculations and recommendations.
You will also need to seek certain approvals at this stage. If you are sharing boundaries with neighbouring structures you may need party wall agreements, and this process can take a while so should be started as soon as possible. It’s also likely that you have planning conditions to approve before you can start building and any signoff applications required should be submitted as soon as possible.
At this stage the design choices will need to be agreed with you in detail. This includes choosing the various fixtures in the building such as door hardware and light fittings, and choosing internal finishes. Often a tender pack will include allowances for items rather than the actual item, for example a m2 rate for bathroom tiles, however this will give you an estimate in the tender return rather than a quote, and if possible it’s much better to make these choices at this stage.
Once the strategic design is complete then the project can progress to the tender documentation stage. Ideally there is no need for consultant or client input at this stage, and work is focused on producing general layout drawings, details, schedules and specifications to form a full tender submission, although inevitably there will be a process of review and co-ordination
During this stage of the project it will also be useful to arrange quotes for specialist items that are part of the design. While you could leave it to your main contractor to obtain quotes, by researching suppliers and quotes directly for important items such as windows and doors, it allows you to work out the best product for your budget, and also reduce the time needed for tender pricing. Ideally the main contractor will be pricing general building products and will be given a list of products for specialist suppliers, fixtures and finishes.
Includes:
Detailed drawings
Construction systems
Energy performance strategy
Coordination with consultants
08
Procurement Strategy
Decide how you’ll build
One option is to self build- familiar to anyone who has watched Grand Designs as this is often favoured by homebuilders on a budget. True self build involves appointing subcontractors direct and managing the build process day to day. The upside of this is you get control over every detail of the project and you cut out the cost of a main contractor, however this comes with cost risks as you don’t have a contractor taking responsibility for the cost of the whole build, and risks of co-ordination mistakes between subcontractors which become your responsibility
A traditional main contract involves tendering the entire project to a main contractor, often to between 3 and 5 contractors for competitive pricing. The main contractor is in effect taking on the self builder role, and often has few employed staff- his role is to organise the many subcontractors involved in a project. This has the advantage of an agreed project cost at the outset, and a project manager to take on the day to day management. It’s important to understand however that a fixed contract is always variable, and any design changes during the build will result in cost changes. So for this route to be effective it’s important to resolve the design as far as possible before starting on site.
A negotiated contract is similar, however the price is agreed with a single builder, which can allow a more collaborative approach to resolving cost issues early on, and a greater engagement with a contractor. If paired with a good QS to establish the correct cost for the build this can be an excellent route for a newbuild.
A hybrid option which we often follow is construction management, where the build is broken down into a small number of packages (segments) to reduce the overheads and give more control over pricing. Unless you have construction experience you would probably need an architect or surveyor to manage the interface between these packages.
Whichever route you follow, having an architect in either a supporting design role or a leading CA (contract administrator) role can easily save more than their fees in identifying and negotiating cost savings and good strategies for resolving any issues that arise.
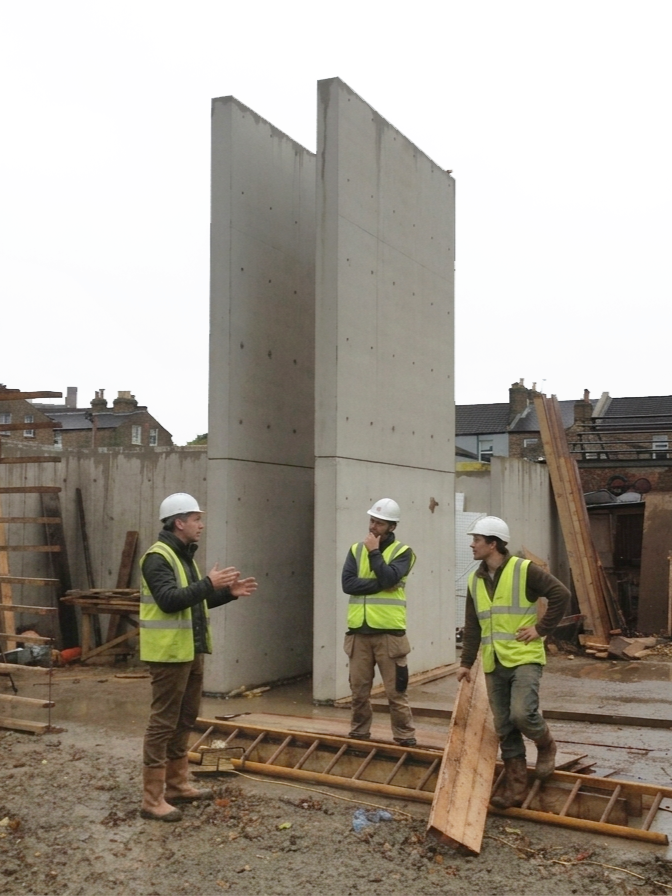
There are many procurement routes to building a new home.
Options include:
Traditional tender
Design & build
Negotiated contract
Each has different risk, cost, and control implications.
09
Construction Phase
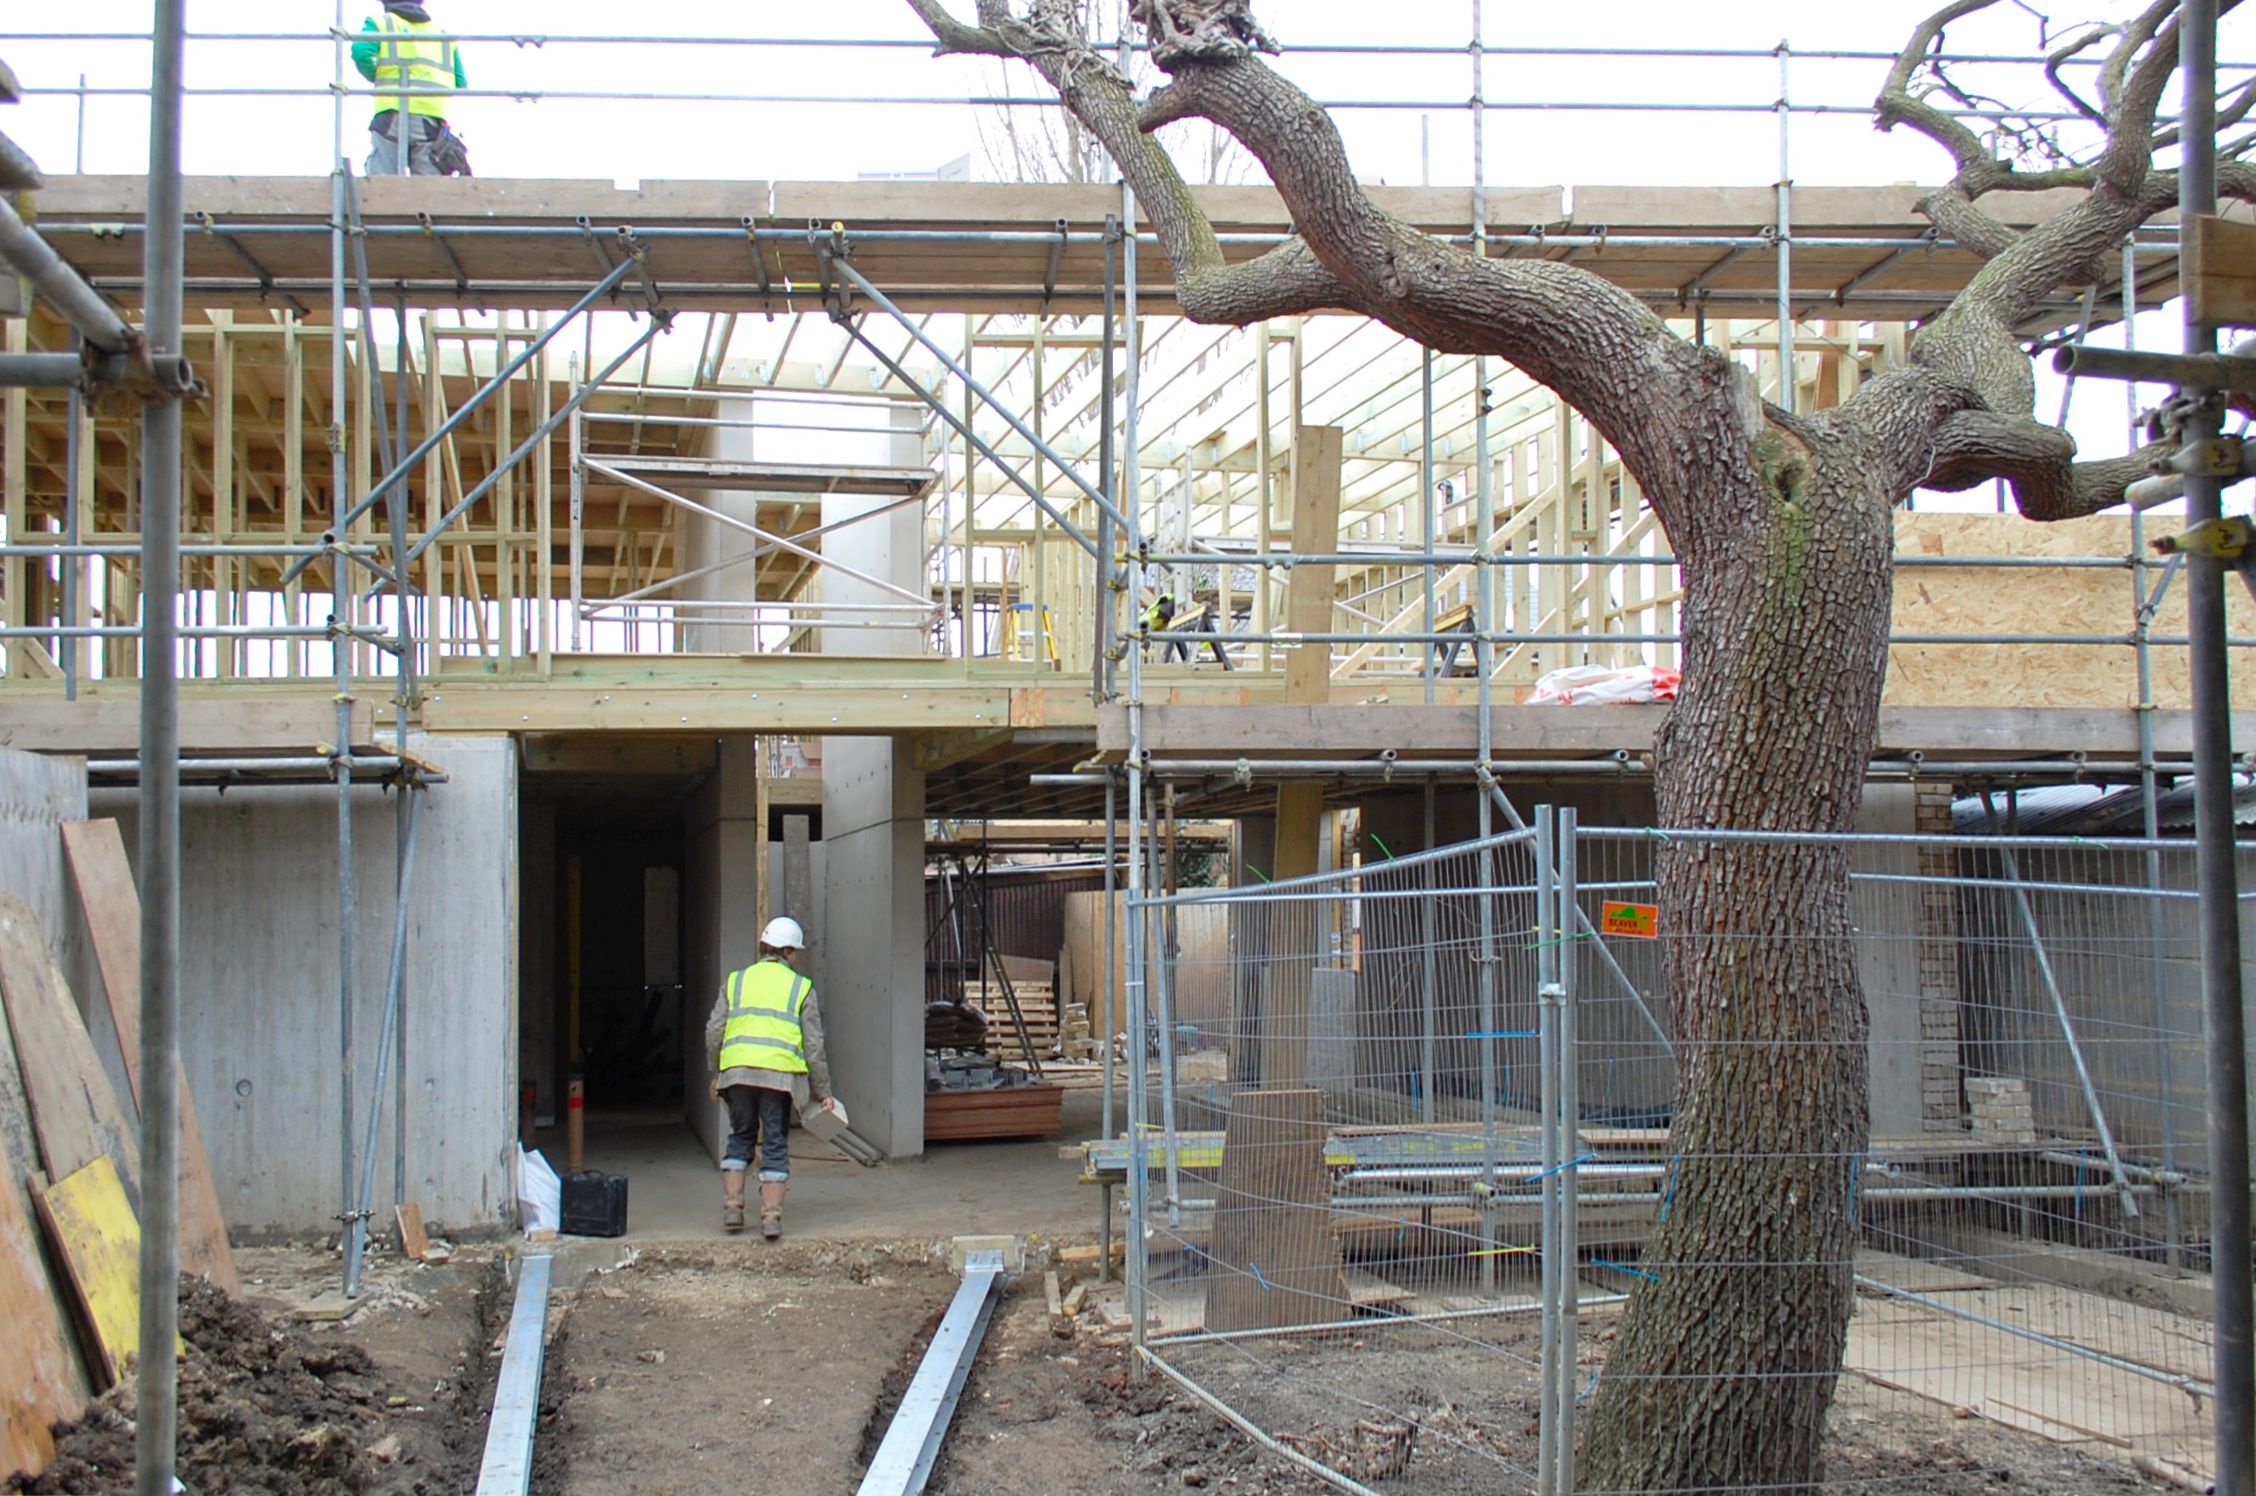
Where decisions meet reality
Managing a build is a whole subject in itself, and by the time you get to this stage you will hopefully have an expert team of consultants and contractors to guide you.
However a few basic points to consider:
Planning ahead is key. The more you can resolve the design and decide what you want before you start, the more your build will run smoothly and to budget. Clients often underestimate the impact of changes during a build- contractors procure materials and labour well in advance, and late changes can be very disruptive. The more you can leave the builder to get on with it the faster it will go, and less variations means less divergence from agreed costs. It also allows a builder to claim for extensions of time to deal with these changes.
Meeting on site fortnightly is a good principle. Aim to organise any consultant meetings as part of these visits to avoid disrupting the contractor and works on site.
Work should be valued monthly by the contractor, and these valuations reviewed by the contract administrator before payment is agreed. The basic principle of payments is that a contractor is only paid for work completed, with a small deduction to pay for any defects at the end. It can be tempting to advance payments to a contractor who is struggling, but this puts you in a position where the contractor owes you and can quickly unravel. Your CA will also be checking that work is completed to a satisfactory level before any valuation to manage quality control, although it’s important to note that it’s a builders responsibility to build correctly - your designer is not a project manager unless you appoint them to that role and they review all work on site.
There are many permissions and sign offs you’ll need for your project, and these are particularly demanding for a new home as opposed to a refurbishment or extension project.
It’s very important to arrange a newbuild structural warranty, as these are very difficult to obtain if not put in place before you start building, and you can’t sell or get a mortgage without one. You’ll also need insurance advice for the project.
You’ll need building control approval, and while you can theoretically leave this to your builder, the complexity of a newbuild and recent legislation such a s the building safety act means that you’ll likely need an architect or other consultant to lead this process.
You’ll also need to make sure that any planning conditions are signed off and met during the build.
Focus on:
Spatial quality and flow
Natural light and ventilation
Materials and character
Long-term adaptability
10
Completion & Aftercare
The project doesn’t end at handover
The end of the main construction phase is Practical Completion, when the build is deemed ready for handover to the clients. This is an important moment when you take over responsibility for the building from the main contractor- including insurance.
However this does not mean the build is finished, and there can be a surprising amount of work still to do.
A small amount of the contract sum should be retained at this point- usually 2.5%- which will not be paid out until defects are resolved at the end of the defects liability period, usually 12 months from Practical Completion (it’s important that a full range of seasons have passed to test that all systems are working correctly)
You will also need all the various certifications of the build to be completed. These include commissioning all the M&E systems, securing building control approval (which in itself will require a long list of sign offs and certifications to be submitted) and getting the structural warranty signoff.
You will want to test the various systems in the house to make sure everything is working, and although the contractor does not have to return to fix defects until the end of the defects liability period, in practice most good contractors will be a happy to attend to any defects as they arise.
Ideally the defects will not include any areas of work that were incorrectly built- a good contractor and design team should pick up on these during the build. Defects are more likely to include minor imperfections to finish and decorations, perhaps where the building has dried out during the build, and fixing minor M&E issues that arise as the systems bed in. It’s also good to understand that identifying defects is the responsibility of the contractor- many architects will produce inspection reports of defects after PC, but a good contractor will inspect and resolve defects without any prompting.
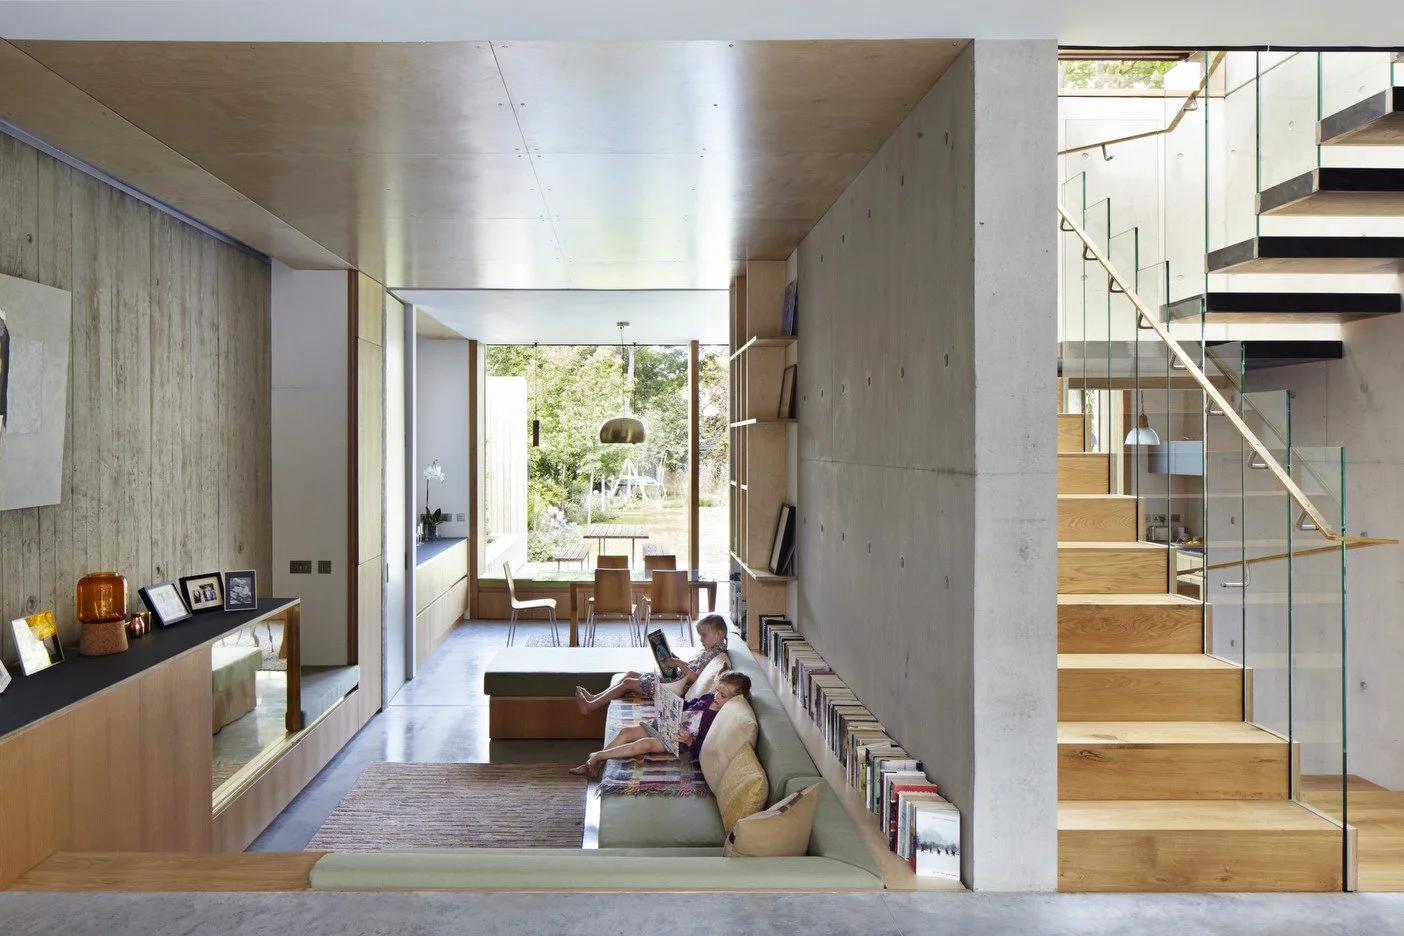
Finally, it’s good to undertake an assessment of building systems and their performance, for example the actual heating energy consumed as compared to the predicted design. Your design team will also be interested in your post occupancy feedback on your experiences of living with the building, whether this is to identify future possible improvements to the building or simply the useful accumulation of knowledge of how the finished house performs.
Ensure:
Snagging is completed
Certifications are in place
Building performs as intended
Post-occupancy review
By Jake Edgley
8th May 2026